Google Draw Make Image Circle Shape
As the old saying goes, a picture is worth a thousand words, right? This is definitely something we live by here at BrightCarbon as we always aim to use less text and more visuals to make our presentations powerful and engaging. So, if you're looking for new ways to enhance your presentations, why not start with the pictures? Both PowerPoint and Google Slides offer some great image editing tools that are so easy to use you don't need to be an expert to make your presentation look striking, but we're going to focus our time today on what Google Slides image editing can offer.
Before we get started, if you need quality stock photos for your presentation, you can try sites like Unsplash or Pexels, as they offer a large online library of copyright-free, high definition images.
Now, with that sorted, here are six very simple and effective editing tips to help take your presentation to the next level.
1. Cropping and masking
The crop tool allows you to trim the edges of an image or remove any unwanted sections. Cropping helps bring focus to the relevant part of the picture and can also help develop a style or theme in your deck. For instance, you could crop all your images to a square for a consistent design identity.
How: To start, open a presentation and go to Insert on the menu bar, scroll down to Image and select Upload from computer. Choose the image you want to insert and click Open. Now the picture has been inserted, let's crop it. Double-click on the image and drag the black tabs to your desired size. Now hit enter to make the crop. Make sure you are dragging the black tabs and not the blue nodes, as those will change the size of your picture. If you accidentally pull the blue nodes, just hit the Undo button (Ctrl + z) and try again.

Cropping is one way to hide parts of a picture, another is masking. With masking you simply add shapes over the top of your picture to hide the unwanted parts.
Use cases
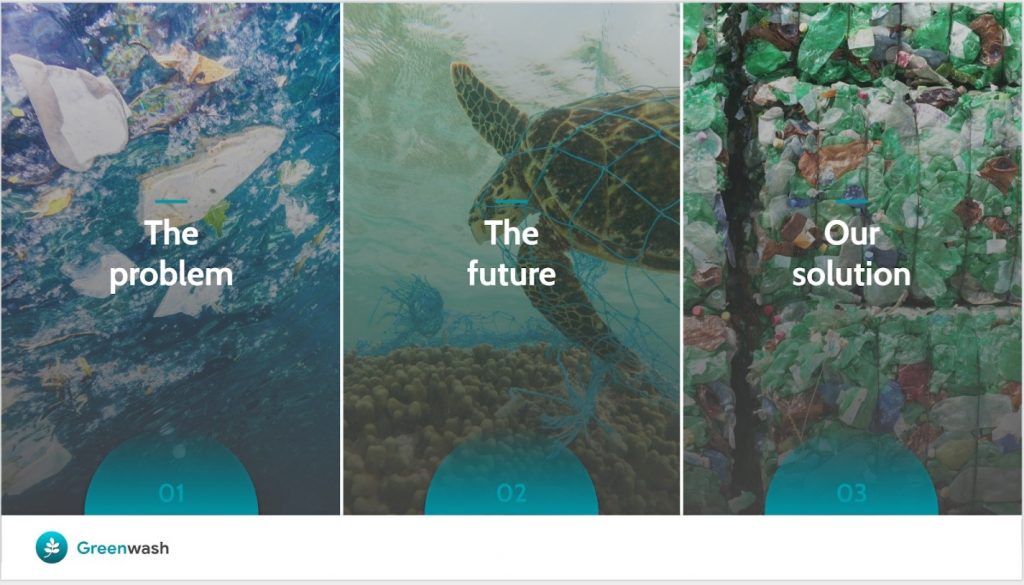
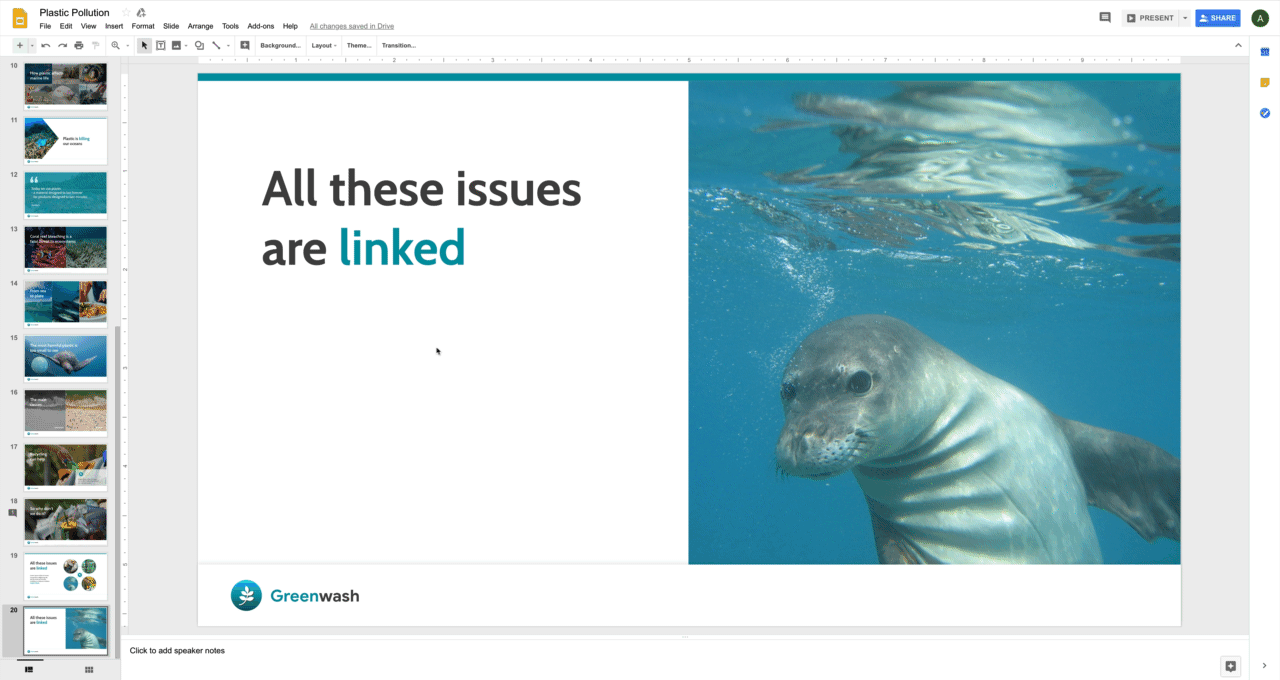
Sometimes simply cropping a picture or altering its dimensions can change the meaning of a slide completely. By simply cropping three images to equal rectangular shapes you can create an impactful agenda slide highlighting different sections in your presentation. Really simple, but so effective!
If you want to learn more about how to align your slides neatly using guides, check out this article.
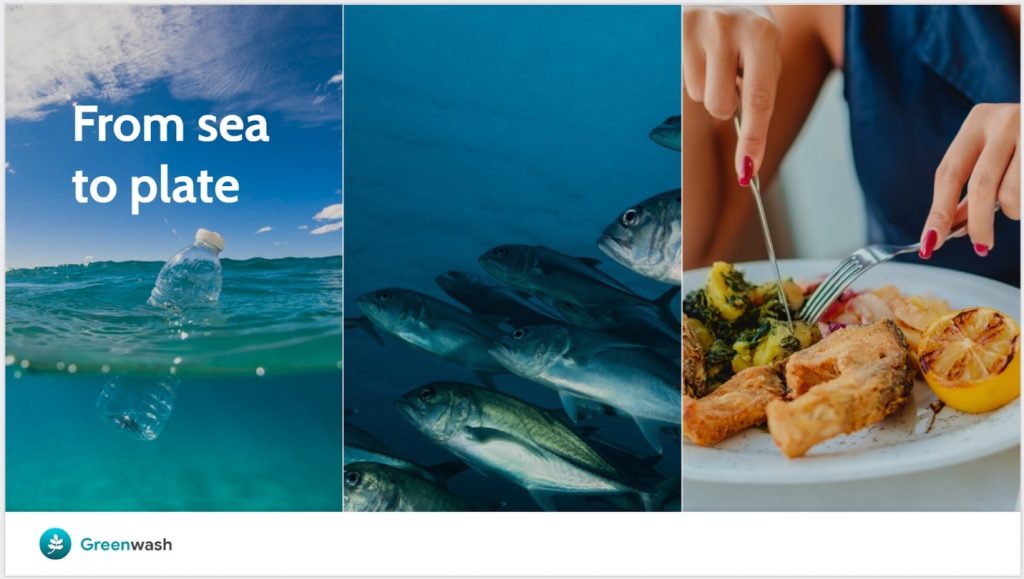
You can also use the same rectangle crop to demonstrate an evolution, sequence or timeline, as seen on the slide below which shows the step by step process of how plastic can end up on our plates.
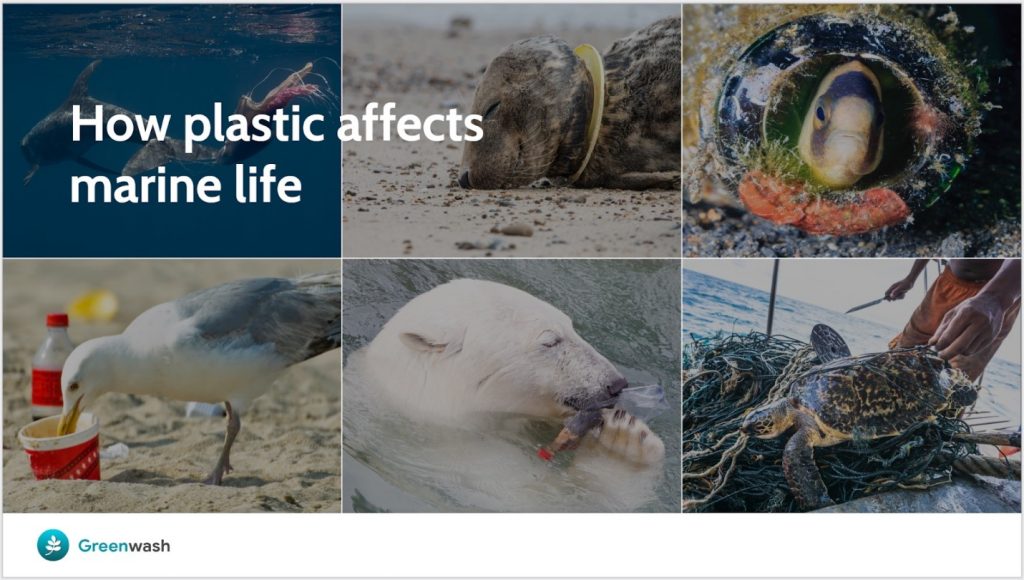
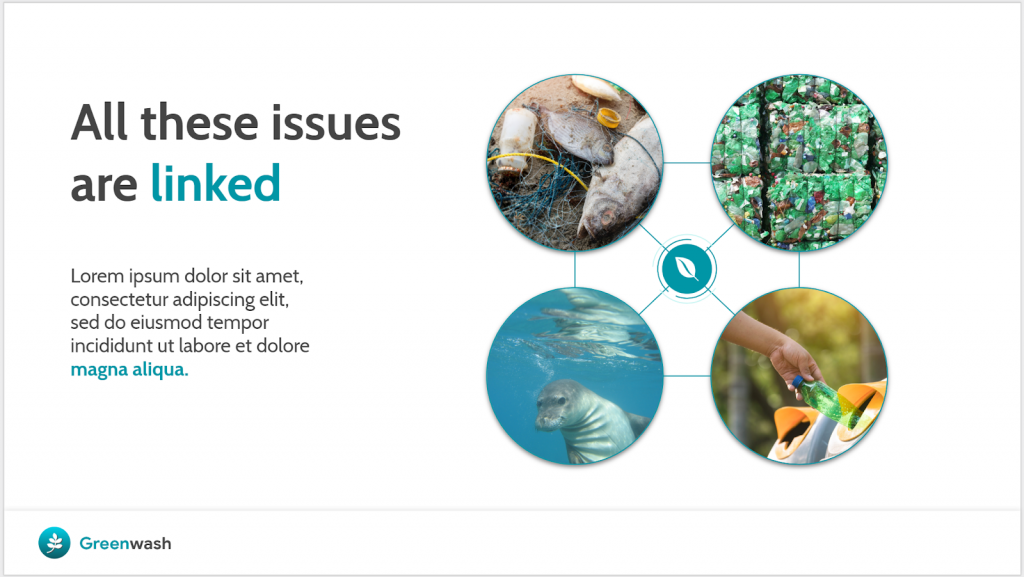
Next, by cropping various pictures to the same shape and size, we have created a collage effect. If you're struggling to express your message with just one picture, a collage is a great alternative to bring various ideas together – in this case to show the different ways in which plastic can affect marine life.
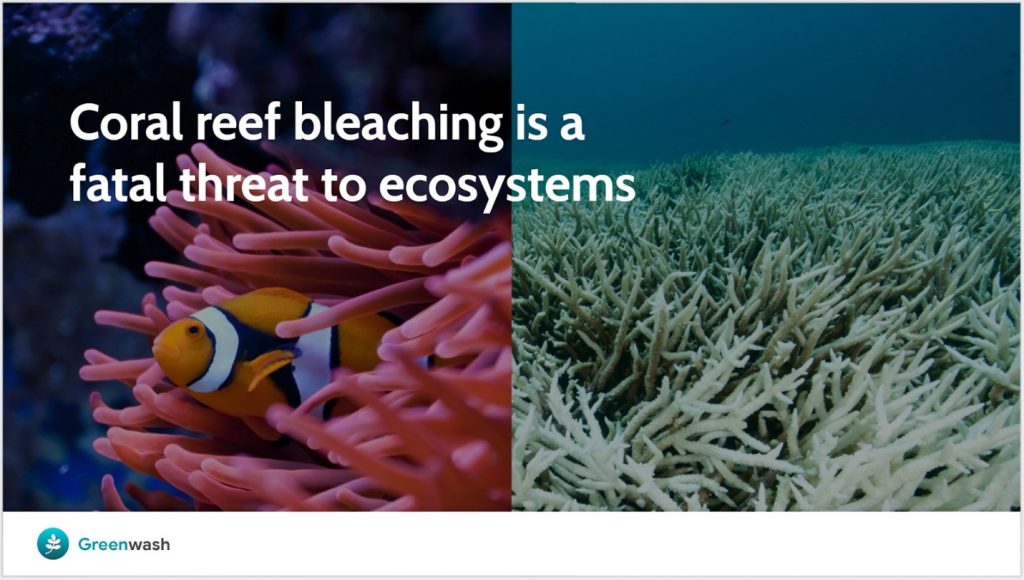
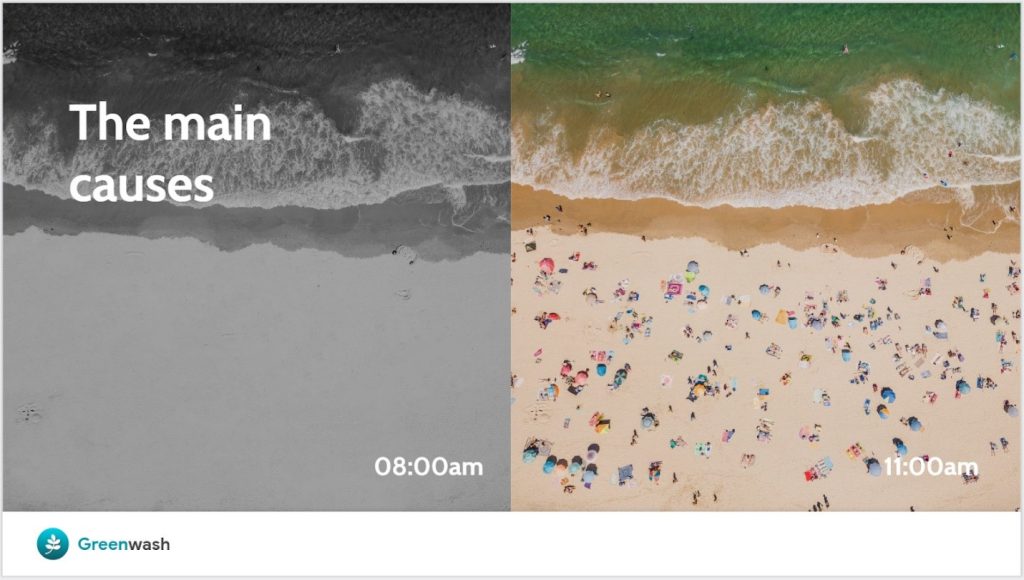
Placing two cropped pictures side-by-side is an easy way to make a comparison or show a before-and-after, as we did here.
2. Crop to shape
This Google Slides image editing hack is one of our favourites, will soon become a firm favourite in your toolkit. This nifty tool allows you to change the shape of your picture to a circle, triangle or star, for example.
How: To crop your image to a particular shape, click on the arrow next to the Crop image icon, scroll down to Shape and select the shape you want. There are lots of shapes, arrows and callout designs to choose from, like the heart example below.
If you want to avoid a warped or stretched image, you need to make sure your picture has equal proportions. To do this go to Format, scroll down to Format options and click the Size & Position box to make sure the width and height are equal.
Use cases
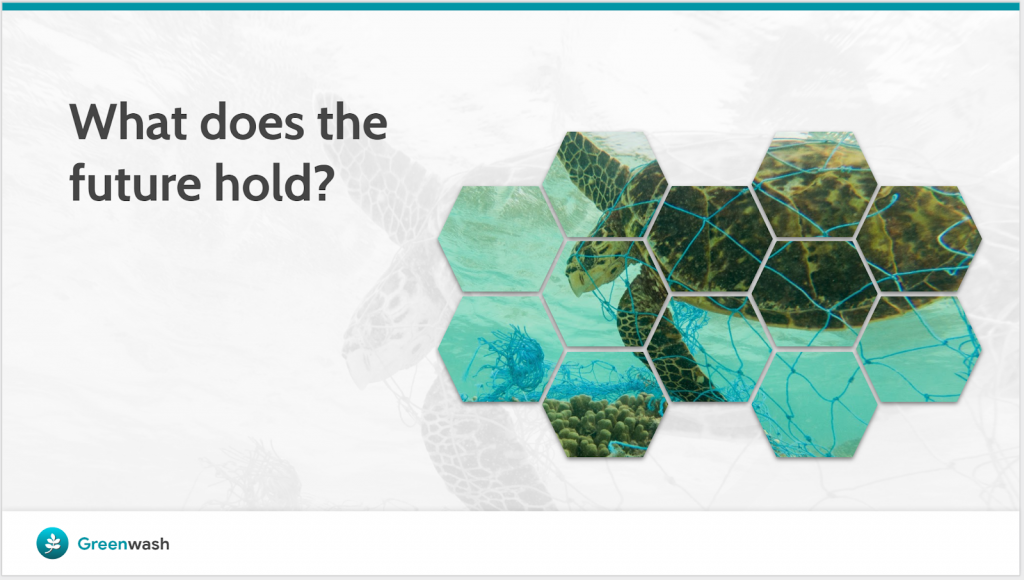
Images cropped to shape can become much more compelling. By cropping different parts of this picture to hexagon shapes to resemble the net that's trapping the turtle.
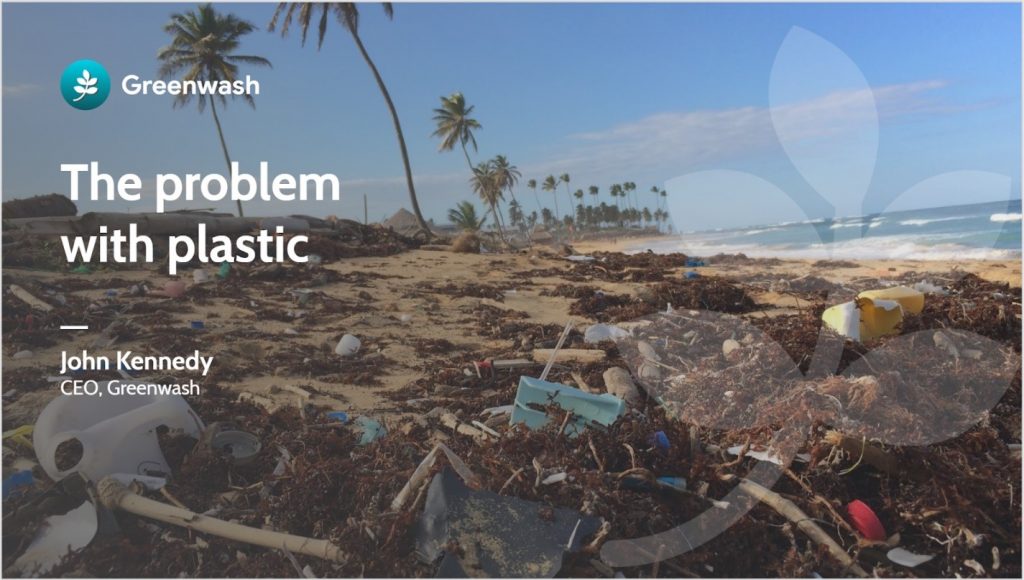
Here, by cropping the picture to a pentagon shape, you can create a slicker, more professional looking title slide.

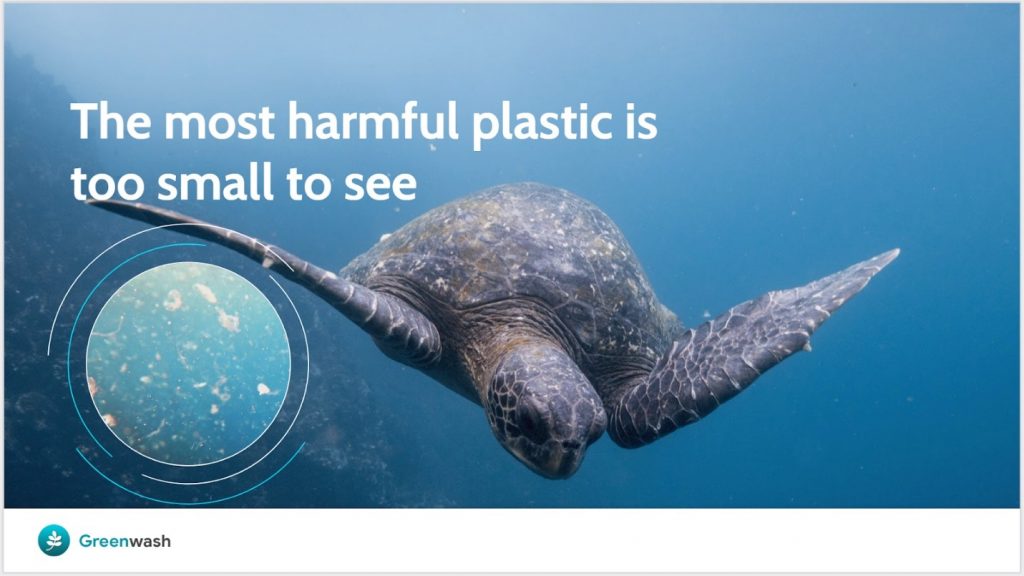
By cropping a slightly different image to a circle and layering it on top of another image, you can easily create a magnifying glass effect- a great way to show a larger scene without missing important details.
3. Add a border
Adding a simple border around your images can sometimes help them look more polished. Having an element like a border consistently throughout your presentation, gives it a strong identity and style.
How: Select your image then go to the menu bar and click on the Border Color icon to select the colour you want. If you want to make the border thinner or thicker, click on the Border weight icon and select your desired weight.

4. Image Callout
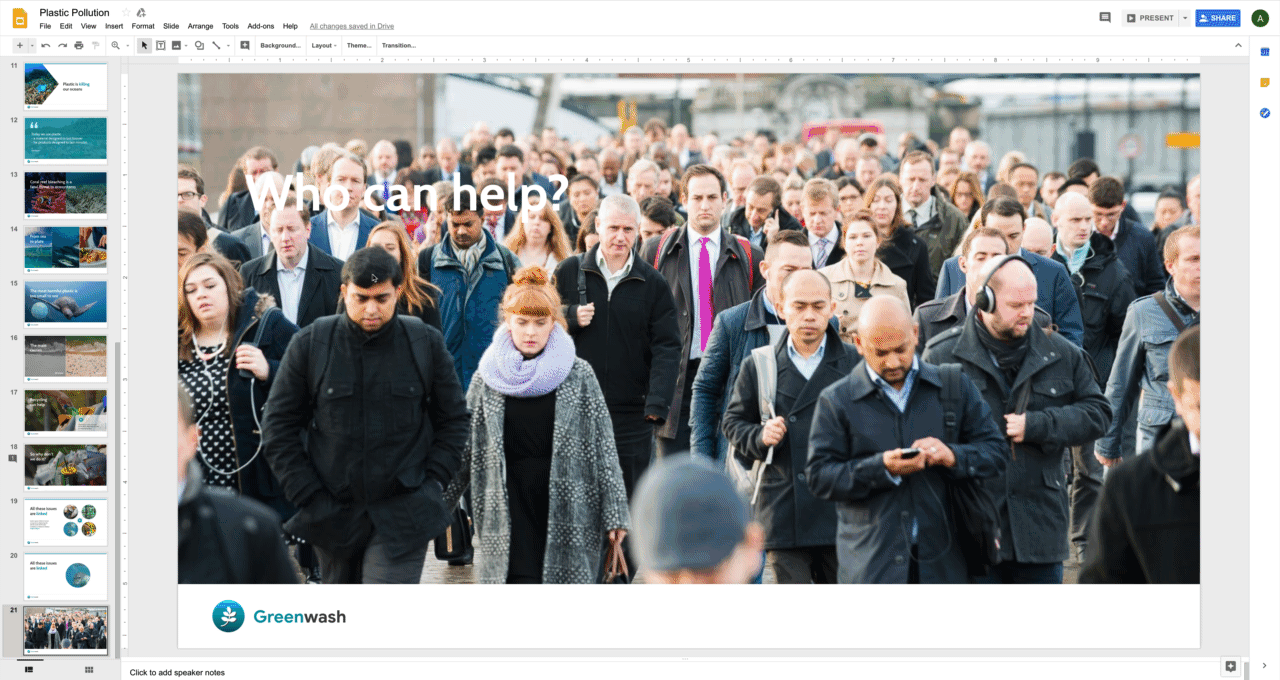
Image callout is a design must-have as it is so incredibly useful and visually powerful. In a callout, you cut out a circle to a specific part of the picture, to draw attention to it. We have highlighted the faces in the crowd to create focus points on the image.

In order to achieve this effect, you need to go through a few more steps.
How: Firstly, Copy and Paste the image you want to edit, then overlay it over the original image. Click the drop-down button next to the Crop tool, scroll down to Shapes and select the oval shape. Once this is done, go to Format, scroll down to Format options and click the Size & Position box in the format options and make sure the width and height are equal to create a perfect circle. On the original image, click on the adjustment box in Format options and reduce the brightness. This will make sure that your callout stands out against the original image.
How to make an image callout in Google Slides from BrightCarbon on Vimeo.
5. Image overlay
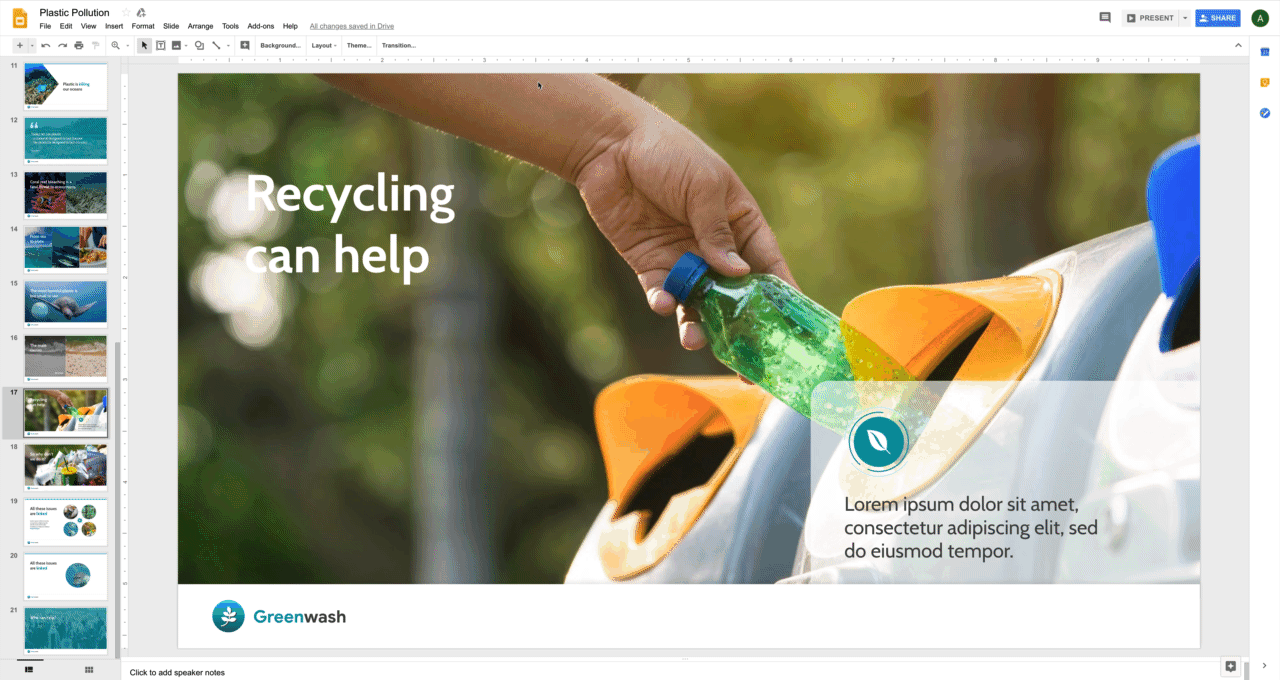
Positioning text over images can look very effective… if done well. Text can easily get lost on top of a busy image and become hard to read, but we've got a handy trick you can use to get around this problem – image overlay! This means adding a translucent rectangle on top of an image: it should be dark enough so that you can read the text, but clear enough that you can see the picture.
How: Go to Insert on the menu bar, scroll down to Shape, then Shapes and choose the shape you need. In most cases it's a rectangle. Grab the corners and drag until your rectangle is the exact size of your picture and perfectly positioned on top of the image. Then go to the Fill color icon button on the menu bar. Select the black colour option and then click Custom at the bottom. A small window will open with two bars – one for the colour of your shape and the other for the transparency. Lower the transparency until it's almost fully transparent: it needs to be just dark enough to read the text, whilst making sure the picture is still clear.
See how this simple and subtle image overlay helps the text stand out.
Use cases
You can also choose a custom colour overlay like on the slide below. Using a shade of blue that fits with the theme of the deck helps to maintain brand identity, whilst also slightly muting the image so that the focus is on the quote instead.
6. Format Options
Once you've decided on the size and shape of your picture, you can start playing with its format. With Google Slides you can adjust the transparency, brightness, and contrast of your images, as well as change their colour. These simple alterations can make your presentations much sharper – and you don't need to be a Photoshop expert to be able to do them!
How: To start, click the image then go to Format on the menu bar. Scroll down to Format options… and a sidebar will pop up containing the following tools.
Recolour
Using recolour you can change the colour of your image to either match the theme of your presentation or, as in this case, to create some contrast.
Transparency
This is a useful feature that can be used on both images and shapes. Transparency works a treat for background images, as it helps fade back the image so that the text becomes the focus and is easier to read.
How to: Once you have opened the Format options bar, click on Adjustments and you will see the Transparency cursor. Move it up to your preferred level. Then once you are satisfied, you can click on your image and pull the corners until it fills the slide.
Adding transparency to shapes can be useful too, particularly for overlaying text boxes on top of images.

Head over here to find out how to use transparency in PowerPoint.
Brightness
This tool is handy if your original picture is dark or faded. This simple adjustment can highlight the best features of your photo and give it a more professional look.
Drop Shadow
Drop Shadows are a tiny detail that can make a world of difference. It's the simplest way to add depth and space between layers of shapes and images on the slide. The drop shadow effect on the circles below create a more realistic, 3D-like appearance.
As you can see, there are some great Google Slides image editing hacks out there, that let you create beautiful slides, quickly and easily, without having to get trained in graphic design first. So go on, get started today!
Leave a comment
Google Draw Make Image Circle Shape
Source: https://www.brightcarbon.com/blog/google-slides-image-editing/